




How to replace the line in a string trimmer?
Worn out, poorly matched, or incorrectly wound trimmer line is one of the most common reasons for a drop in a grass trimmer’s cutting efficiency. Fortunately, replacing the line in a grass trimmer is a task you can usually complete in about fifteen minutes, most often without specialized tools. In this guide, we will show you how to install trimmer line step by step, how to choose its type, and how to select the right diameter for your device model.
Which trimmer line to choose for your grass trimmer?
Before winding the trimmer line, you must select the right product. Various types of line are available on the market, differing in profile, diameter, and intended use. Always check the manufacturer’s recommendations provided on the trimmer head or in the user manual.
| Line type | Diameter | Application |
| Round line (round cross-section) | 1.6–2.0 mm | Regular grass trimming, lawns |
| Square / star-shaped | 2.4–3.0 mm | Aggressive cutting, tough and dense weeds |
| Spiral / twisted | 2.0–2.4 mm | Edging, hard-to-reach places |
For mowing grass, a round line is usually sufficient – it is universal and works well for regular lawn maintenance. If you are dealing with tough weeds or denser vegetation, you can opt for a square, polygonal, or star-shaped line, which typically provides a more aggressive cut than a round line. Typical diameter ranges are approx. 1.6–2.4 mm for lighter grass trimmers and 2.4–3.0 mm or more for powerful petrol brushcutters – always check your model’s manual. Most lines are made of nylon or nylon blends – the higher the material grade, the longer the line will serve without snapping.
💡 Tip
Before using your grass trimmer, always check the condition of the line – if it is frayed, too short, or if the device runs louder than usual and cutting becomes less effective – install a new line or rewind it.
How to replace line in a grass trimmer? A practical step-by-step guide
- Safety
Before replacement, always remove the battery (cordless grass trimmer) or disconnect the spark plug wire (petrol brushcutter). The line rotates at high speed – do not skip this step.
- Remove the head cover
Press the side tabs and remove the cover or unscrew the securing element according to the head design and manufacturer markings.
- Remove the spool and clean the head
Take out the spool and remove any leftover old line. Clean the inside of the head, check the condition of the eyelets, and line-guiding components. Be careful not to lose the spring and spacer washers, if present.
- Measure and fold the line
Measure the correct length of new line according to your model’s manual and spool capacity. Depending on the head type, this can be one longer piece or two shorter lengths of line.
- Winding the line onto the spool
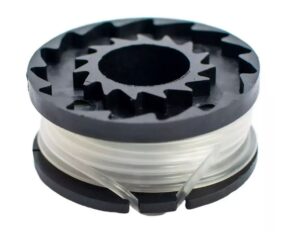
Secure the line in the hole or slot provided by the manufacturer. Wind it following the arrow on the spool — tightly, evenly, and without crossing turns. At the end, leave short lengths needed for threading through the eyelets, according to the head structure.
- Thread the line and reassemble the head
Thread the line ends through the eyelets in the housing, put the spool back in, seat the spring, and close the head. If the loose ends are too long, trim them according to manufacturer recommendations or let the cutoff blade on the guard trim them to length.
- Start and check
Start the device and check if the line is feeding properly. In bump feed heads, it should advance after lightly tapping the head on the ground, while in other systems the feeding mechanism may differ.
Tips for effective trimming
- While trimming, try not to press the head against the ground — contact with dirt, stones, and hard obstacles accelerates line wear.
- When working near sidewalks, curbs, and fences, maintain a distance from hard surfaces — these wear down the line fastest.
- For working in hard-to-reach places, use precise movements at medium speeds.
- Store spare line in the shade – sunlight degrades nylon and causes the line to become brittle.
- Regularly check the working length of the line. Line that is too short reduces cutting efficiency, while line that is too long can unnecessarily strain the motor drive.
Frequently asked questions
1. Which line should I choose for a cordless grass trimmer?
For most standard 18–36 V grass trimmers, line with a diameter of approx. 1.6–2.4 mm is used, most commonly round for grass and more aggressively profiled for denser vegetation. Always check manufacturer recommendations on the head or in the user manual.
2. How many meters of line should be wound onto the spool?
The length of line depends on the head model and line diameter. Wind only as much as specified by the manufacturer, and do not overfill the spool — too much line can hinder proper feeding.
3. Why does trimmer line wear out quickly in a grass trimmer?
The most common causes are trimming too close to hard surfaces, line that is too thin for heavy conditions, or an overly aggressive technique. Under such conditions, consider a line with a larger allowable diameter or a more aggressive profile, provided the device manufacturer permits such an option.
4. In which direction should the line be wound?
Always in the direction of the arrow on the spool or head. Winding against the arrow causes the line to loosen during operation and fall out of the head.
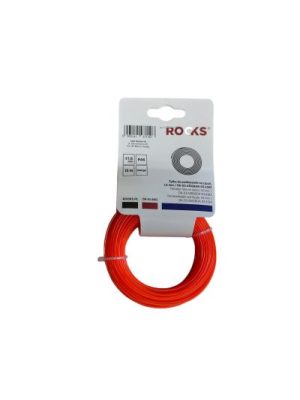
Check out high-quality trimmer lines for grass trimmers at ROOKS!
Replacing the line in a grass trimmer is a simple task that in most cases can be performed independently. The key to success is selecting the appropriate line type and diameter and carefully winding it according to the markings on the spool. Regular inspection and replacement of the line helps maintain high cutting efficiency, reduces unnecessary load on the device, and makes working with grass, denser vegetation, and edges much easier. Visit Rooks.pl for trimmer line tailored to your device.
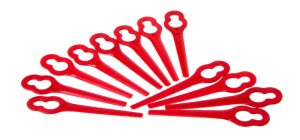
 ROOKS OK-03.4500 AQ-GDN NYLON-CUT trimmer blades for OK-03.4013, 12 piecesCatalog nr: OK-03.4500
Read more
 ROOKS OK-03.4431 20V AQ-ONE replacement trimmer blades for OK-03.4418, setCatalog nr: OK-03.4431
Read more
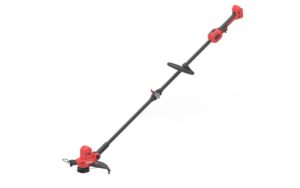
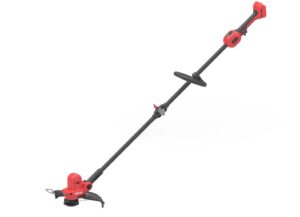
 ROOKS OK-03.4418 – 20V AQ-ONE 2-in-1 cordless grass trimmer, 33 cm, bare toolCatalog nr: OK-03.4418
Read more
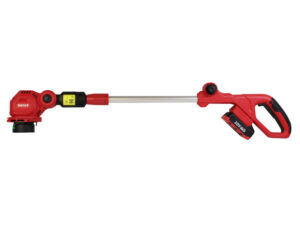
 ROOKS OK-03.4383 20V AQ-ONE cordless grass trimmer, 30 cm, set with 2 Ah batteryCatalog nr: OK-03.4383
Read more
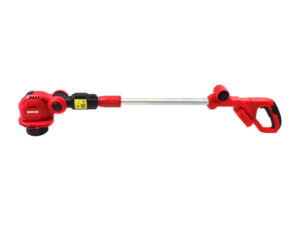
- ROOKS OK-03.4382 20V AQ-ONE cordless grass trimmer, 30 cm, bare toolCatalog nr: OK-03.4382
Read more