









How to set a torque wrench?
Why Is Correctly Setting a Torque Wrench Crucial?
A torque wrench is a precision tool that operates with a specified torque and allows you to tighten bolts and nuts with the exact force required by the manufacturer. In auto repair shops, bicycle servicing, or home repairs, this is of great importance — the correct torque protects the thread, prevents damage, and guarantees safety.
If you are wondering how to set a torque wrench to ensure it works correctly and tightens bolts according to best practices, you are in the right place. Incorrect settings can lead to overtightening (risk of damaging the thread or component) or undertightening, which, in the case of car wheels or other critical components — such as engine parts — can be dangerous. Properly setting the torque is essential to ensure that every connection is solid and executed with the precision required by manufacturer instructions.
Remember to always loosen the torque wrench to its minimum setting (or switch off electronic wrenches) after completing your work.
Types of Torque Wrenches – A Short Overview
Before moving on to how to set the wrench, it is worth understanding what types of torque wrenches are available on the market.
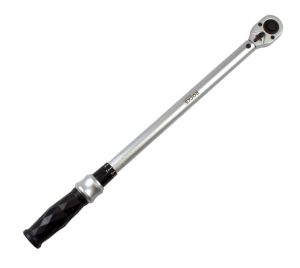
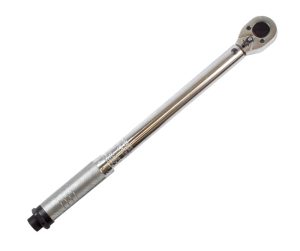
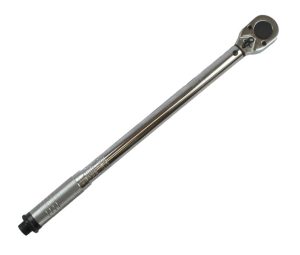
- Mechanical (click-type) torque wrenches — the most popular tools in auto repair shops and homes. Upon reaching the set value, they emit a distinctive click, signaling that further tightening is not recommended.
- Electronic (digital) torque wrenches — equipped with an LCD screen that displays the current torque. Thanks to signaling features (sound, light, vibration), it is easy to set an electronic wrench to the desired value.
- Dial-type torque wrenches — a classic solution with a simple dial. Although they are used less frequently, they are still effective in situations where smooth torque control is essential.
Which torque wrench to choose depends on the application. For working on bicycles, more delicate bike torque wrenches are often used, whereas auto repair shops rely on models with a larger range.
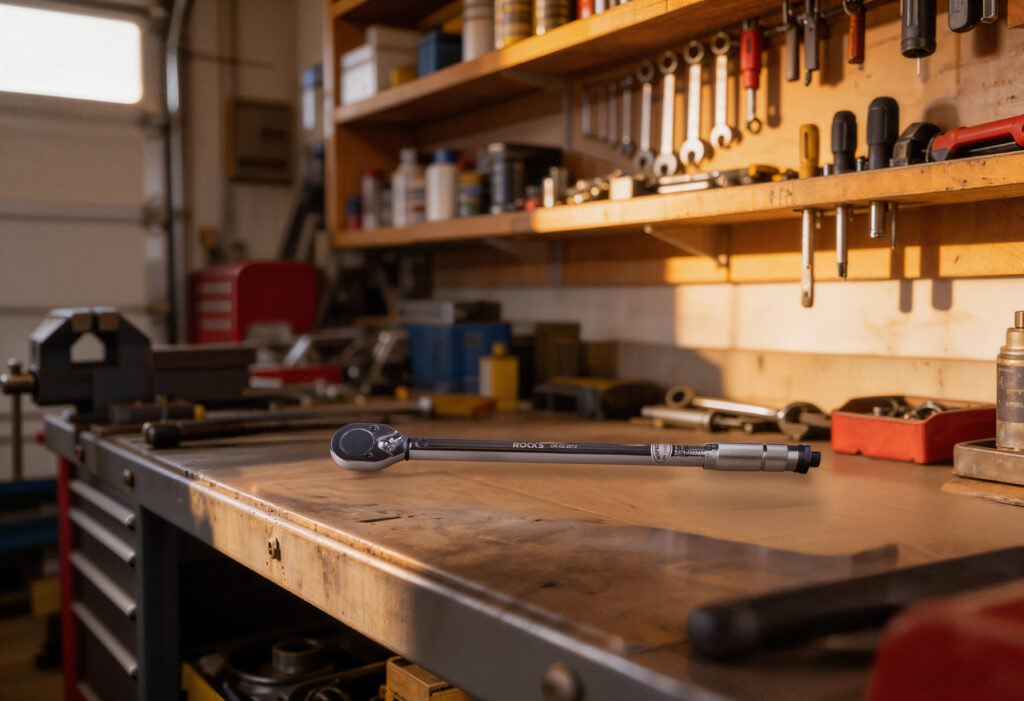
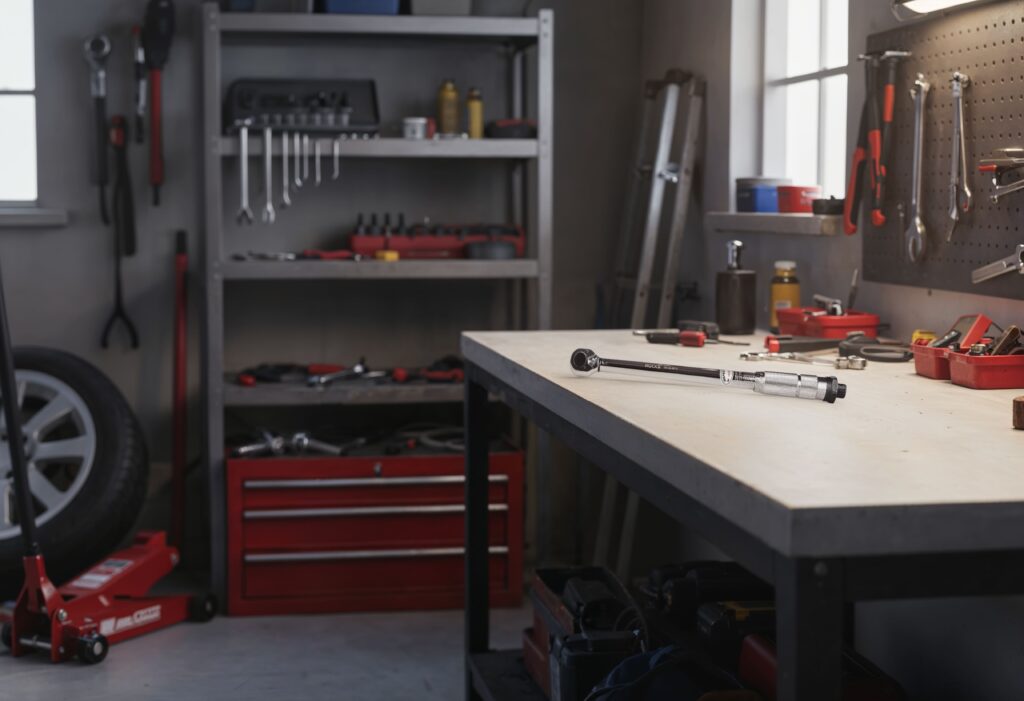
How to Set a Torque Wrench? Step-by-Step Guide
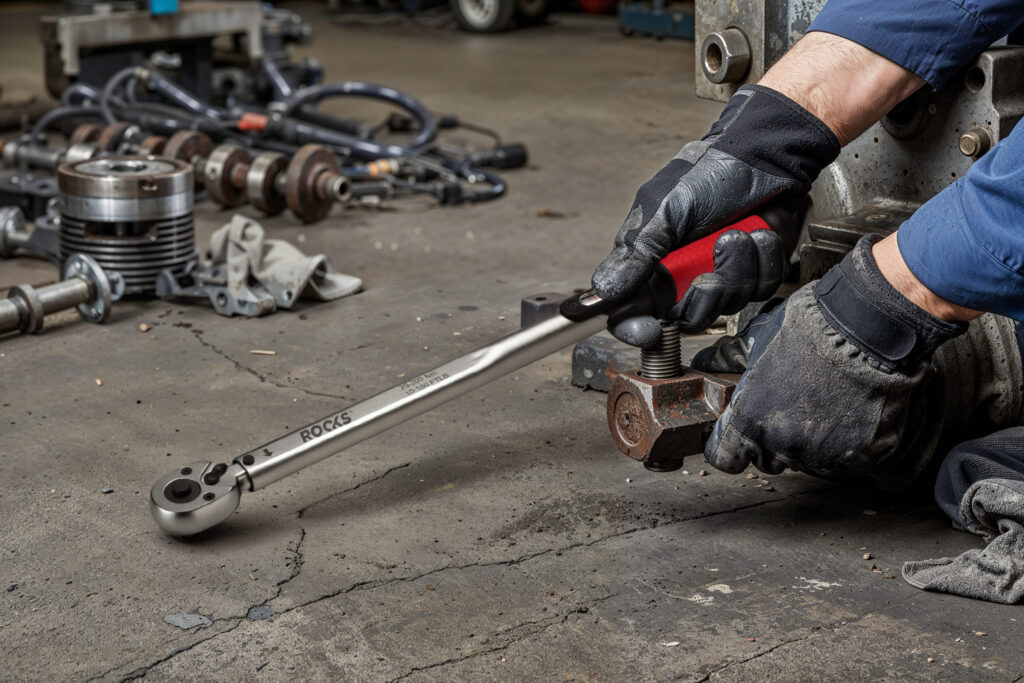
Setting up the wrench is a simple process, but it requires attention. The most important elements are correctly reading the scale, properly using the micrometer handle, and setting the desired torque value. Below you will find a guide for the most popular models.
Setting a Mechanical (Click-Type) Torque Wrench
These are the most commonly used torque wrenches, which is why it is important to know how to set them correctly:
- Unlock the adjustment mechanism
- At the end of the handle, you will find a locking element — usually a knob or a screw. Loosen it so that you can change the setting.
- Set the torque range on the main scale – rotate the handle until a value close to what you need appears on the scale. If you want to set 115 Nm, start at 110 Nm.
- Fine-tune the setting on the secondary scale – the micrometer dial on the handle allows you to dial in the precise value. Rotate it until the indicator or number “5” (in this example: 110 + 5) aligns with the main scale line.
- Lock the setting – tighten the lock so the wrench maintains the set value.
Upon reaching the required torque, the wrench will emit a distinctive click, signaling that further tightening is not needed.
Setting an Electronic Torque Wrench
In the case of an electronic wrench, the process is even easier:
- Turn on the device — activate it using the power button.
- Select the unit — typically Nm (newton-meters).
- Set the desired value — use the “+” and “-” buttons on the panel by the LCD screen.
An electronic wrench operates precisely and alerts you when the correct torque is reached — via a light signal, sound, or vibration. This makes it a particularly convenient and safe solution.
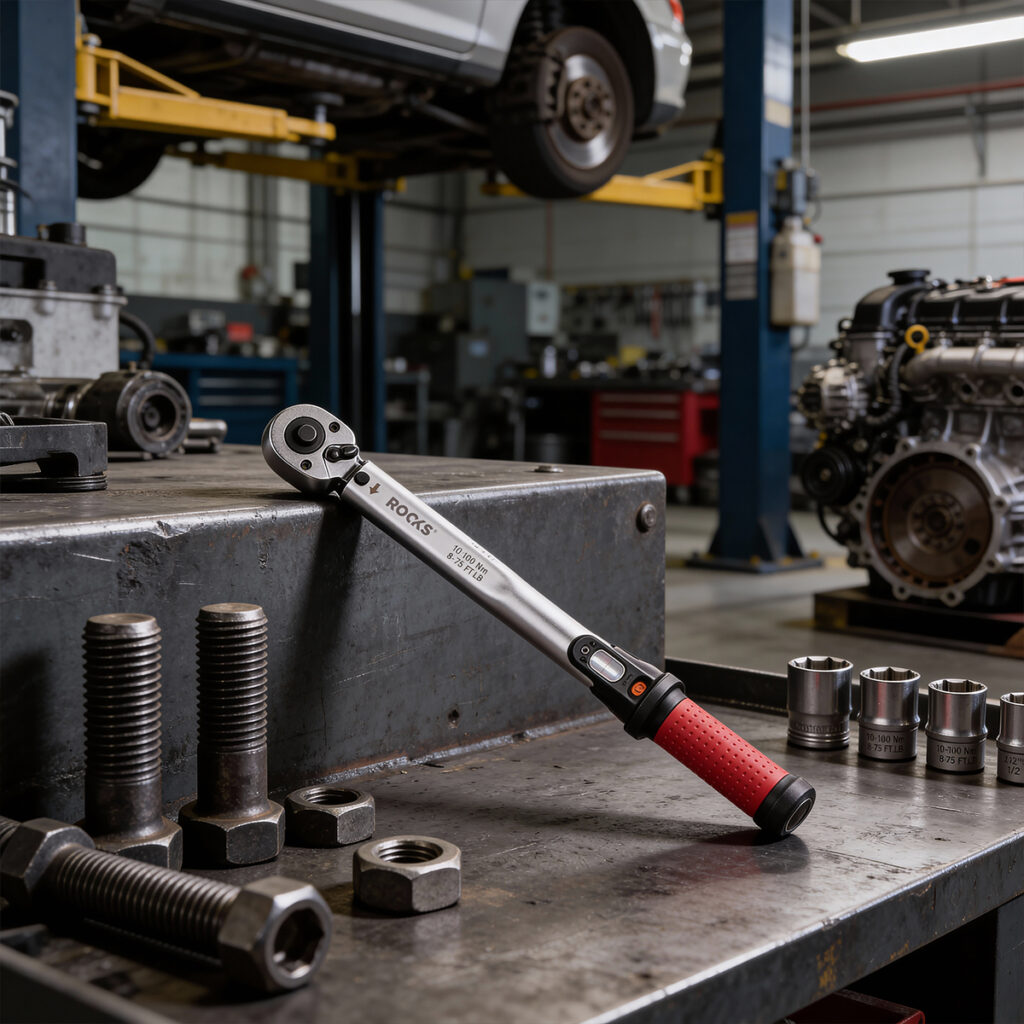
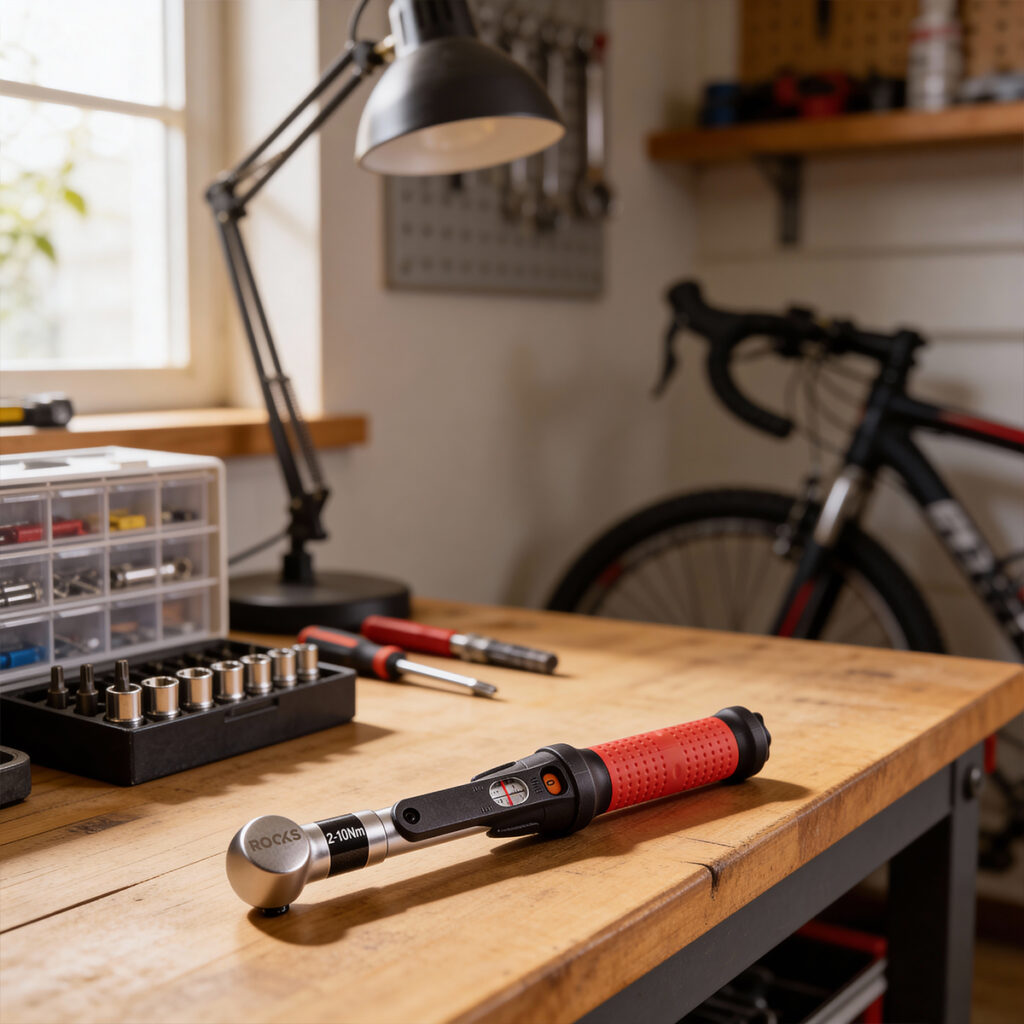
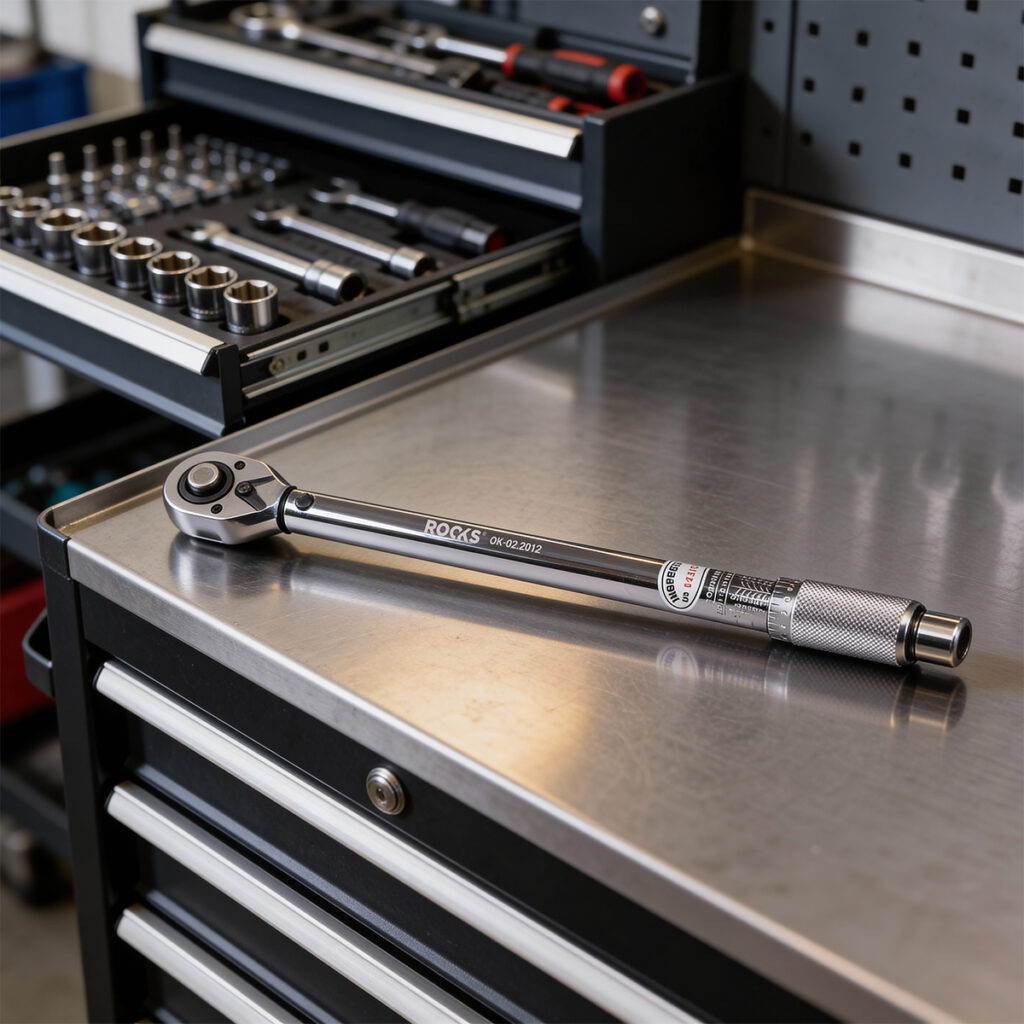
Most Common Mistakes When Using a Torque Wrench
For the wrench to perform properly, avoid these common mistakes:
1. Using wrench to unscrew
The wrench is designed for tightening, not for loosening bolts. Loosening bolts risks damaging the mechanism.
However, there are wrenches that also indicate torque during loosening and allow for such operation. We particularly recommend them for unscrewing glow plugs, as a torque wrench protects against snapping off a plug that has seized in the cylinder head. Examples of such wrenches include:
- ROOKS Torque wrench GARAGE bi-directional 1/4″ 5-25 Nm OK-02.2040,
- ROOKS Torque wrench GARAGE bi-directional 1/2″ 20-210 Nm OK-02.2042 and
- ROOKS Torque wrench GARAGE bi-directional 1/2″ 50-350 Nm OK-02.2043
2. Exceeding the Torque Range
Every model has a specified range — never exceed it.
3. Not “Resetting” After Use
Remember! When finished, set it to the lowest value to relieve tension on the spring.
4. Jerky movements while tightening
Tighten smoothly. As soon as you hear the click — stop tightening immediately.
Maintenance and Calibration – The Key to Precision
For the tool to maintain its accuracy and precision:
- protect against moisture and dirt,
- store it in a case,
- regularly perform calibration – every 5,000 uses or once a year. However, there are also wrenches with a calibration interval of 10,000 cycles,
- take care of the mechanism and scale indicator.
Only then will the wrench operate with the correct value and ensure proper bolt tightening.
Overview of Torque Wrenches from the ROOKS Range
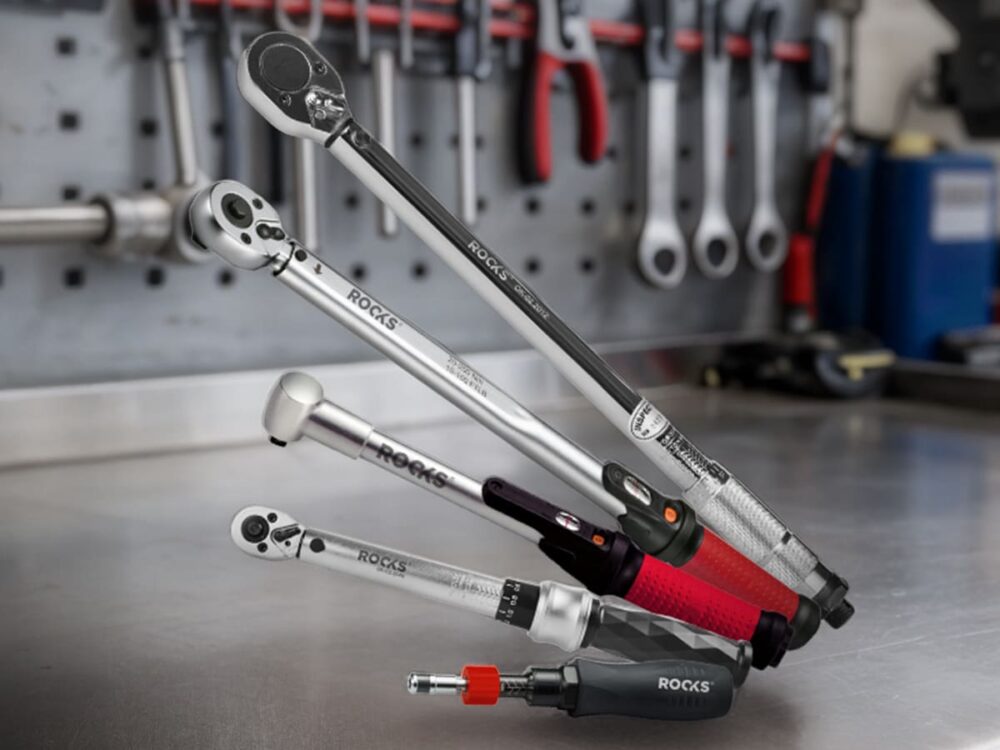
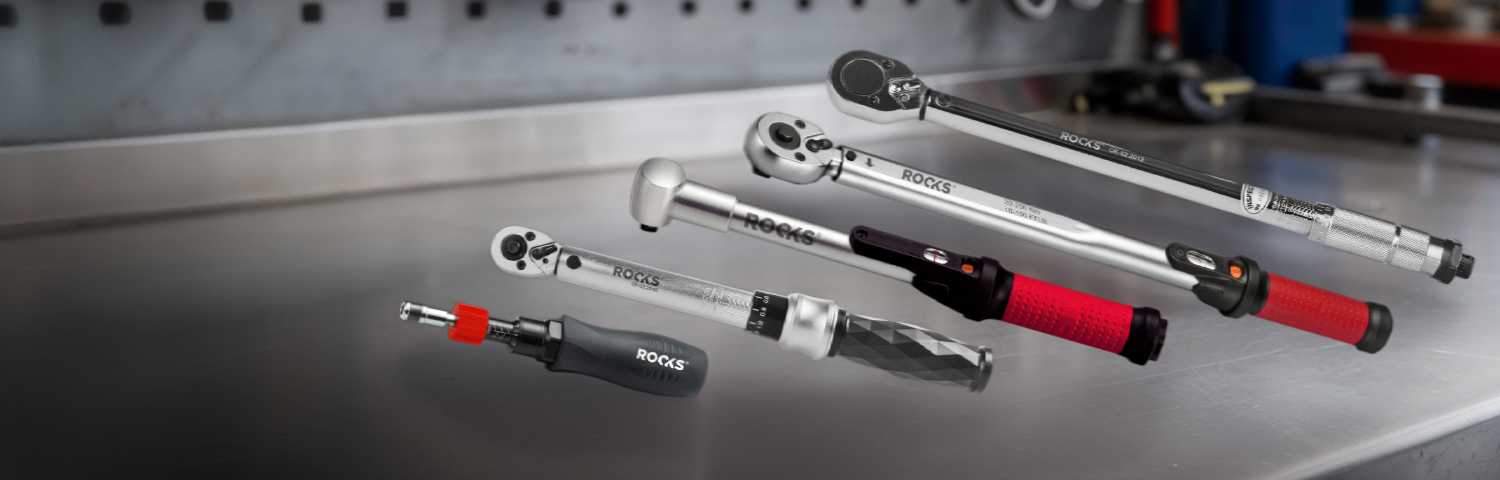
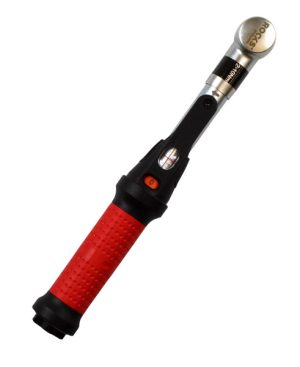
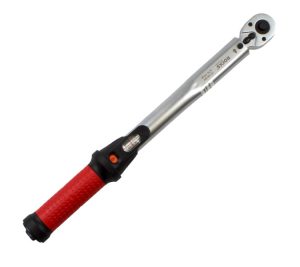
The ROOKS range features a wide selection of torque wrenches tailored for various applications — from bicycles to automotive servicing and precise DIY tasks. Among the most interesting items are the ROOKS Torque wrench GARAGE bi-directional 1/4″ 5-25 Nm OK‑02.2040 models, ideal for glow plugs and bicycles, as well as the ROOKS Torque wrench GARAGE bi-directional 1/2″ 20-210 Nm OK‑02.2042, considered the most popular wrench in the range. For professionals, the Industry series includes the ROOKS Torque wrench INDUSTRY 1/2″, 10-100 Nm OK‑02.2050 model, while for delicate tasks, the T‑Protect series offers the ROOKS Torque wrench T-Protect 1/2″ 2-10 Nm OK‑02.2060 with a low torque range – perfect for bicycles, fuel injectors, and precision components. If you’re looking for a tool for low torques, the torque screwdriver ROOKS Torque screwdriver T-Protect 1/4″ 1-6 Nm OK‑02.2065 is a bullseye. In the DIY market, the ROOKS Torque wrench STANDARD 1/2″ 42-210 Nm OK‑02.2012 reigns supreme, perfectly combining versatility with an affordable price.
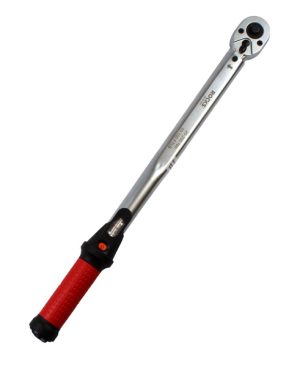
 ROOKS OK-02.2043 GARAGE bidirectional torque wrench, 1/2″, 50–350 NmCatalog nr: OK-02.2043
Read more
Precision that matters
Correct setting of a torque wrench guarantees safety, joint durability, and the certainty that every bolt has been tightened to the appropriate torque. Whether you use a click-type, electronic, or beam-type torque wrench, remember to operate it correctly, set the desired value, and calibrate it regularly. As a result, your torque wrenches will work with full accuracy, and every job — from tightening engine components to assembling a bicycle — will be carried out according to best practice.
